A lot of folks wonder how their golf cart wiring is done. Golf cart wiring is technical; every owner should have experience carrying it out. You can always avoid serious problems on your cart if you know this.
We have prepared this article on Golf Cart Motor A1 A2 S1 S2 for you, and reading it will give you detailed information about how to wire your golf cart, identify the wiring, and many more.
What is Golf Cart Motor A1 A2 S1 S2?

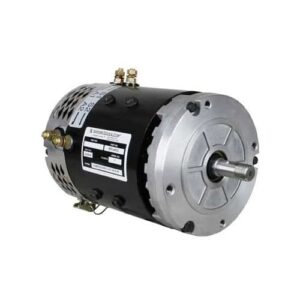
The wires A1, A2, S1, and S2 on a golf cart motor are all terminals that are used to connect the motor to the rest of the golf cart’s electrical system. These terminals are typically used to control the speed and direction of the motor, as well as to provide power to the motor.
How Do Golf Cart Motor A1 A2 S1 S2 Terminals work?
The terminals work as the electric motor responds to increased load by slowing down. Since the same current flows through both the armature and field windings, the current increases and the torque increases proportionally to the square of the current.
You may want to check out this post on 36 Volt to 48 Volt Golf Cart Conversion & Motor Upgrade.
Golf Cart Motor A1 A2 S1 S2 Wiring: How to
It is not too difficult to fix your golf cart motor, but you might need a mechanic’s help. The following steps should be taken when wiring your Golf Cart A1 A2 S1 S2 motor:
- The first step is to identify where the motor is to be fixed, which is usually located underneath an access hatch depending on the make and model, and place it there.
- After that, check for the motor terminals and connect the power cables appropriately.
- Next, locate the bolts which hold the motor in their place and then screw them on.
- Make sure you keep all the screws and other component parts close by, so you can easily locate them when you want to fix anything.
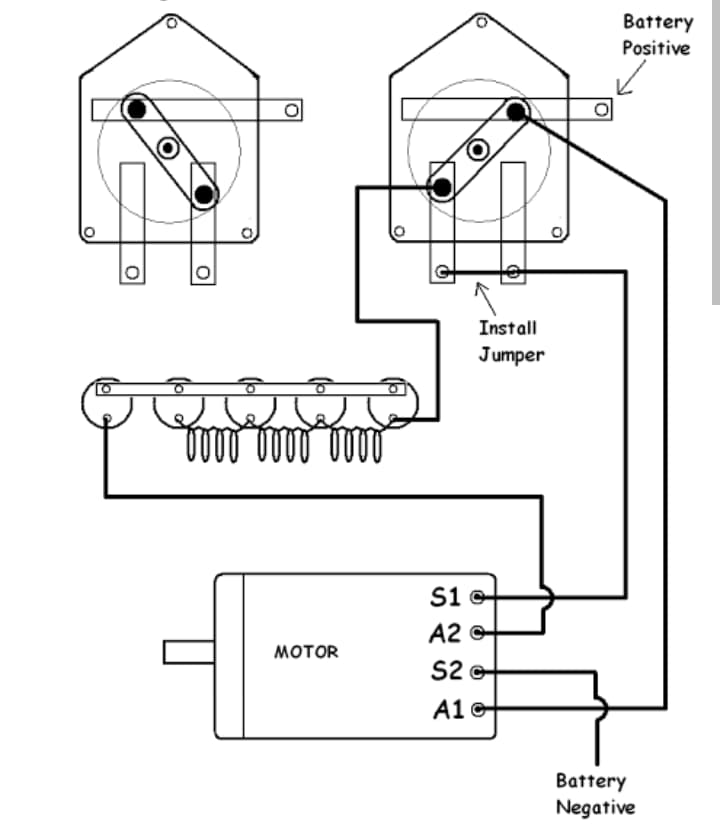
Golf Cart Motor A1 A2 S1 S2 Wiring Diagram

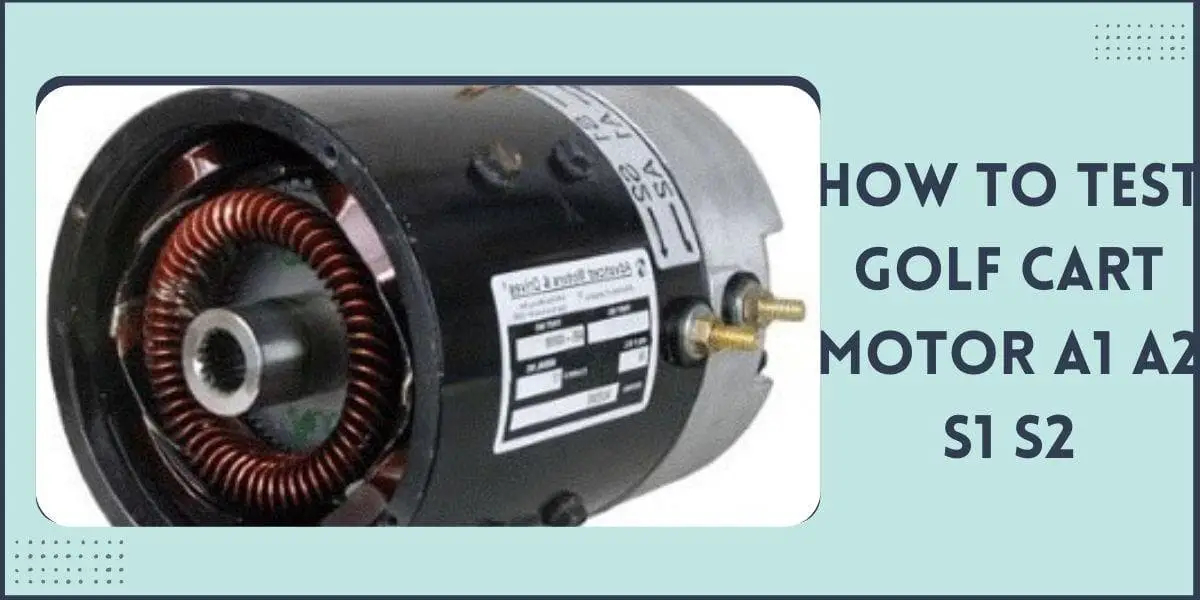
How to test Golf Cart Motor A1 A2 S1 S2?

Before you test your golf cart motor, there are a few pieces of equipment you will need to help you:
- Volt meter.
- Screwdriver.
- Pliers.
- Wrench.
There following outlined steps below can be deployed in testing your golf cart motor:
1. Check The Motor
Before you begin to test anything, you have to check the motor with these few steps:
- First, you must locate the panel that covers the golf cart motor at the rear of the cart. For easy identification, it is usually rectangular or square and is attached with screws; take the screws out and save them for later use.
- Before you take anything apart, it’s a good idea to note or take multiple pictures of everything in the chamber of the golf cart motor for future reference.
- Check the motor, making sure that there are no damages.
If everything is fine after the first step, you will proceed to test your motor for a short.
2. Testing Your Golf Cart Motor For A Short
The golf cart motor connections should be checked to ensure that the motor works properly and sends electrical signals through the cart components. To do this, follow these instructions:
- Set your voltmeter to the continuity or resistance setting.
- After doing that, check that the golf cart motor has four poles, usually labeled A1, A2, and S1 and S2, depending on the golf cart type.
Test these pole combinations and look for the following readings on your multimeter:
- For A1 to A2, put the black probe on A1 and the red probe on A2 and see if you get a continuity beep.
- For S1 to S2 (some F1 to F2), put a black probe on S1/F1 and a red probe on S2/F2 to see if it reads 0.8 to 1.2 ohms.
- To test A1 or A2 on the motor body, your voltmeter should show zero continuity when you put the black probe on either A1 or A2 and the red probe on the metal part of the motor body.
- To test S1 or S2 on the motor body, your voltmeter should also show zero continuity when you attach the black probe to S1 or S2 and the red probe to the metal part of the motor body.
- To test A1 to S1/F1, attach the black probe on S1/F1 and the red probe on A1. Your voltmeter should also show zero continuity.
These tests should read properly as we have described. If they don’t, it means there is a problem with a terminal, and you will have to replace it as soon as possible.
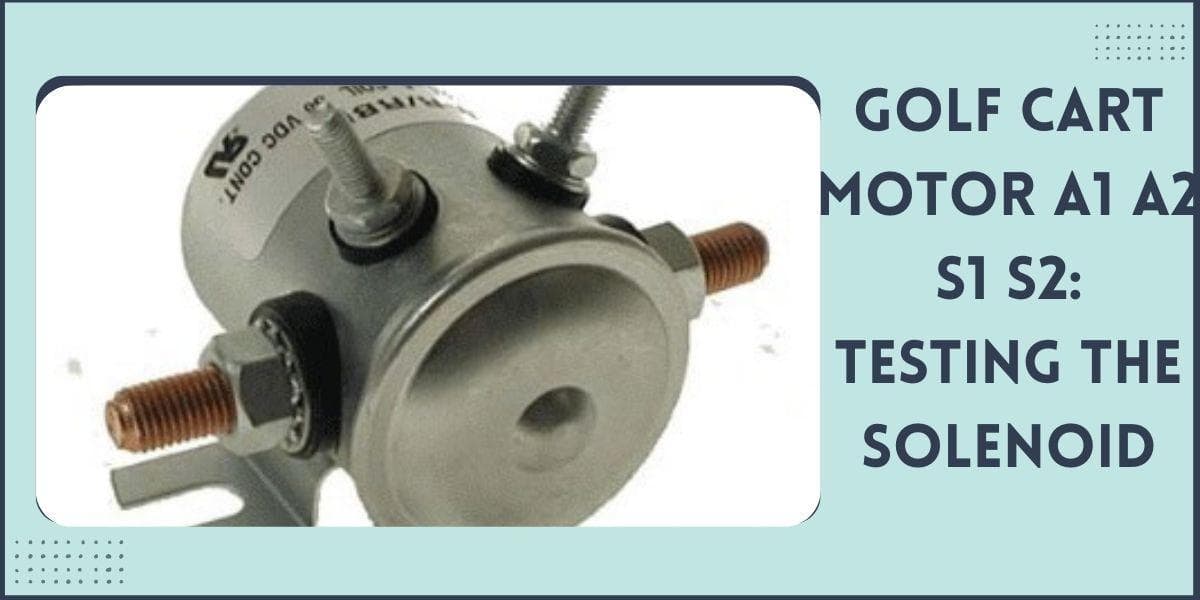
3. Testing The Solenoid

The solenoid is a very important part of the golf cart motor; its job is to distribute power to different parts of the golf cart. Ensure that you clean all terminals before you test the solenoid. If the issue is not solved, follow these steps to test your golf cart solenoid:
- Ensure your golf cart battery is fully charged, and listen for a faint ‘click’ when you start it. That’s the solenoid doing its job.
- If it doesn’t click, the solenoid is probably damaged and needs urgent replacement. However, if you hear a click and the cart does not start, you know that your solenoid doesn’t have problems, and you might need to check for something else.
How to Identify a Golf Cart Motor A1 A2 S1 S2?
Series motors are most often marked A1, A2, and S1. S2 S stands for Stater; these are the fixed windings of the motor. Sepex or separately excited motors are most often marked A1, A2, and F1, F2. F stands for fields, which are also the motor’s fixed windings.
What Are the 4 Terminals on A Golf Cart Motor?
The solenoid has four terminals, usually two large and two small. The small terminal connects to the battery, and the large terminal connects to the motor. Remove all wires from the two large terminals. Make sure the wires do not touch each other for easy replacement.
Do you own a 36v EZGO? Check out the 36 Volt EZ Go Golf Cart Battery Wiring Diagram.
Conclusion
Golf cart maintenance requires a lot of attention, including regular engine checks. Diagnosing and troubleshooting engine problems early can save you significant repair costs in the long run. This article on Golf Cart Motor A1 A2 S1 S2 gives information on understanding your golf cart better and solving problems easily when encountered.


