Ever had that moment when you’re in the middle of a blissful golf game, only for your Club Car engine to betray you with a stutter and an abrupt stop?
The engine, it seems, is past its prime.
I’ve been in those shoes, facing an intimidating engine replacement.
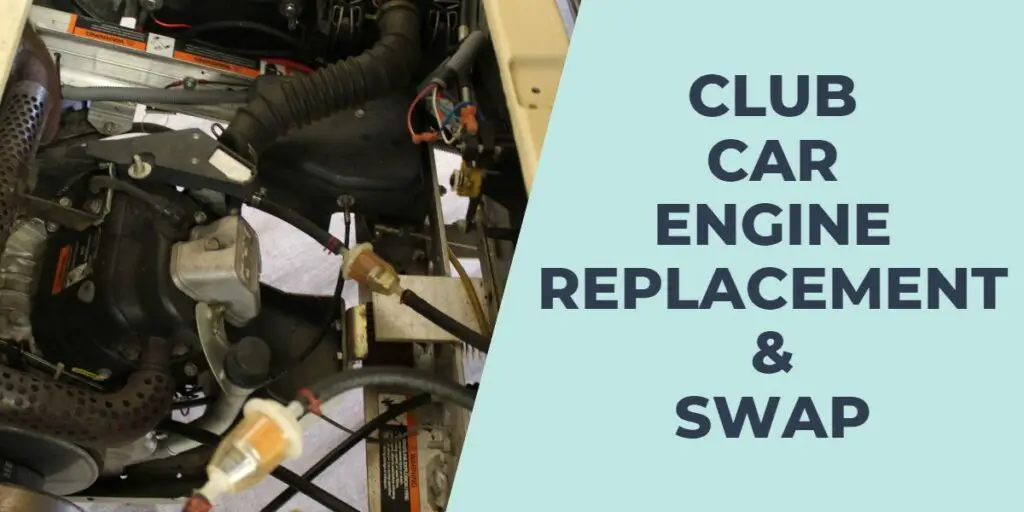
So, stick around as I share my personal experience of doing a Club Car engine replacement and swap with rebuild kits.
Club Car Engine Replacement & Swap: How to Guide

Follow these steps for Club Car Engine Replacement:
- Safety First: Put on your protective gear (gloves, eye protection) to avoid injury during the Club Car Engine Replacement, and get a Club Car Parts Diagram. Make sure the cart is parked on a level surface, with the brake engaged. Disconnect the battery to prevent any accidental startups.
- Remove the Engine Cover: The engine is typically located beneath a plastic cover on the rear of the golf cart. Using a screwdriver or wrench, remove the screws or bolts holding the cover and lift it off.
- Disconnect All Connections: Make note of all the connections to the engine – fuel line, spark plug wire, and any electrical connections. Carefully disconnect all of these. If necessary, label the wires to remember their correct places.
- Remove the Drive Belt: Most Club Car engines have a drive belt that runs from the engine to the transmission. To remove it, simply slide it off the pulley on the engine side.
- Unbolt the Engine: The engine will be attached to the frame of the cart by several bolts. Use a socket wrench to remove these. It might be helpful to have an extra pair of hands at this point to steady the engine while you remove the bolts.
- Remove the Old Engine: Carefully lift the old engine out of the golf cart, making sure not to damage any other components. You may need assistance as the engine can be quite heavy.
- Install the New Engine: Place the new engine in the compartment. It should sit exactly where the old engine was, lining up with the bolt holes. Reinstall the bolts and tighten them securely.
- Reconnect Everything: Slide the drive belt back onto the new engine’s pulley, and reconnect the fuel line, spark plug wire, and any other electrical connections you removed earlier.
- Test: Reconnect the battery, start up the golf cart, and take it for a test drive. Listen for any unusual noises and watch for any signs of trouble. If everything seems to be running smoothly, then the Club Car Engine Swap was successful.
If you are facing issues with your F/R switch, check out this 36v Club Car Forward Reverse Switch Wiring diagram.
Best Club Car Engine Swap Kit to Rebuild it
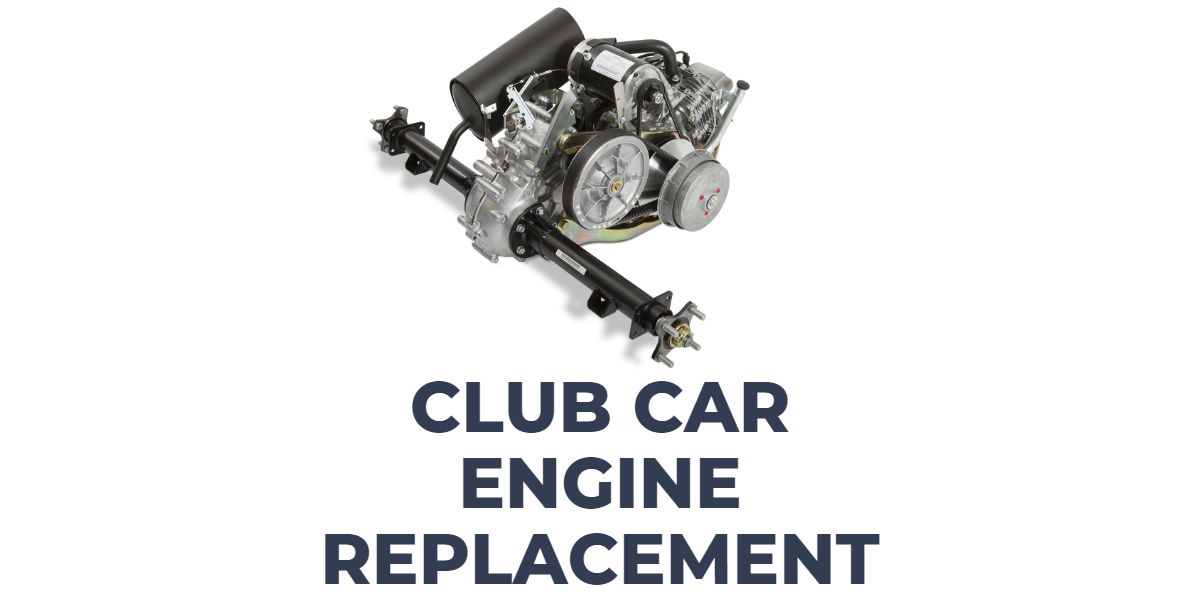
This is the best Club Car Engine Rebuild Kit:
Tools and Materials Required for Club Car Engine Replacement
These are the Tools and Materials Required for Club Car Engine Replacement:
- New replacement engine
- Wrench set
- Socket set
- Screwdriver
- Protective gloves
- Eye protection
If you are dealing with a Club Car DS, refer to this Club Car DS Wiring Diagram.
Preparation and Safety Precautions for Club Car Engine Swap
Before diving into the engine Club Car Engine Replacement process, ensure that you’re adequately prepared.
Gather all the necessary tools and materials, including a new replacement engine, a wrench set, a socket set, a screwdriver, and protective gloves and eyewear.
Always wear your protective gear, ensure the golf cart is on level ground with the brake engaged, and disconnect the battery to prevent accidental startups.
Accessing the Engine Compartment
The engine of your Club Car is typically housed beneath a plastic cover at the rear of the golf cart. Begin the process by accessing the engine compartment.
Using your screwdriver or wrench, remove the screws or bolts securing the cover and lift it off.
Be careful not to misplace the screws or bolts as they will be needed to secure the cover back after the Club Car Engine swap.
Disconnecting Engine Components
Next, you will need to disconnect all connections linked to the engine. This will include the fuel line, the spark plug wire, and any other electrical connections.
To help remember their correct places, it might be helpful to take a photo or label the wires before disconnecting them. This will make reconnection a lot easier later.
Drive Belt Removal
The engine in your Club Car will typically be connected to the transmission via a drive belt.
This drive belt will need to be removed in order to extract the old engine. To do this, slide the belt off the pulley on the engine side.
Engine Unfastening Process
The engine is secured to the golf cart’s frame by a number of bolts. Using your socket wrench, remove these bolts. It’s advisable to have an extra pair of hands ready to steady the engine while you remove the bolts. This will prevent the engine from falling and causing damage or injury.
Extraction of the Old Engine
Now, you can carefully remove the old engine from the golf cart. Ensure that you don’t damage any other components in the process. If the engine is too heavy, get assistance. It’s better to be safe than sorry.
Installation of the New Engine
With the old engine out, it’s time to install the new one.
The new engine should sit exactly where the old one was, lining up with the bolt holes. Once it is properly positioned, reinstall the bolts and tighten them securely.
Reconnecting and Securing Components to Rebuild Club Car Engine
After the new engine has been installed, you can start reconnecting everything. T
his includes sliding the drive belt back onto the new engine’s pulley and reconnecting the fuel line, spark plug wire, and other electrical connections you had earlier disconnected.
Testing the Newly Installed Engine
Finally, it’s time to test the newly installed engine. Reconnect the battery, start up the golf cart, and take it for a test drive. Listen out for any unusual noises and be observant for any signs of trouble.
If the golf cart runs smoothly without any issues, then you can consider the Club Car Engine swap a success.
What tools will I need to replace the engine in my Club Car?
You’ll need a new replacement engine, a wrench set, a socket set, a screwdriver, and protective gear including gloves and eyewear.
How can I ensure my safety during the engine replacement process?
Make sure to wear protective gear, disconnect the battery of the golf cart to prevent accidental startups, and have the cart parked on a level surface with the brake engaged.
How do I know if it’s time to replace my Club Car engine?
Typical signs include persistent issues despite regular maintenance, a significant drop in performance, excessive smoke from the exhaust, and increased noise during operation. Always consult with a professional if you suspect your engine may need to be replaced.
How do I remember the correct placement of the wires when disconnecting the engine components?
You can take a picture or label the wires before disconnecting them. This will help you remember their correct placement when it’s time to reconnect them.
Conclusion
In conclusion, while Club Car Engine Replacement might seem like a daunting task, it’s completely achievable with the right tools, preparation, and a step-by-step approach. However, if at any point you feel unsure or uncomfortable, it’s always best to consult with a professional. An improperly installed engine can cause damage to your cart or pose a safety risk.


