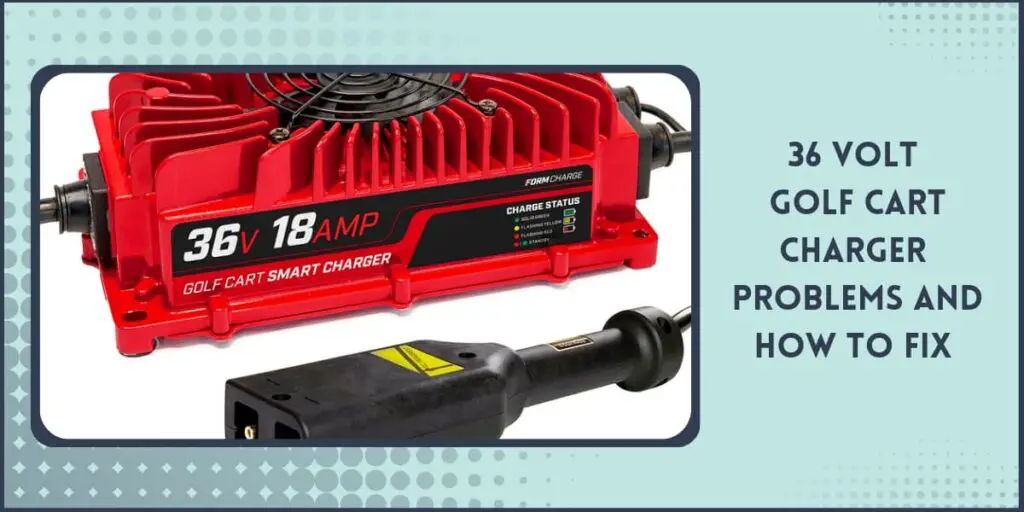
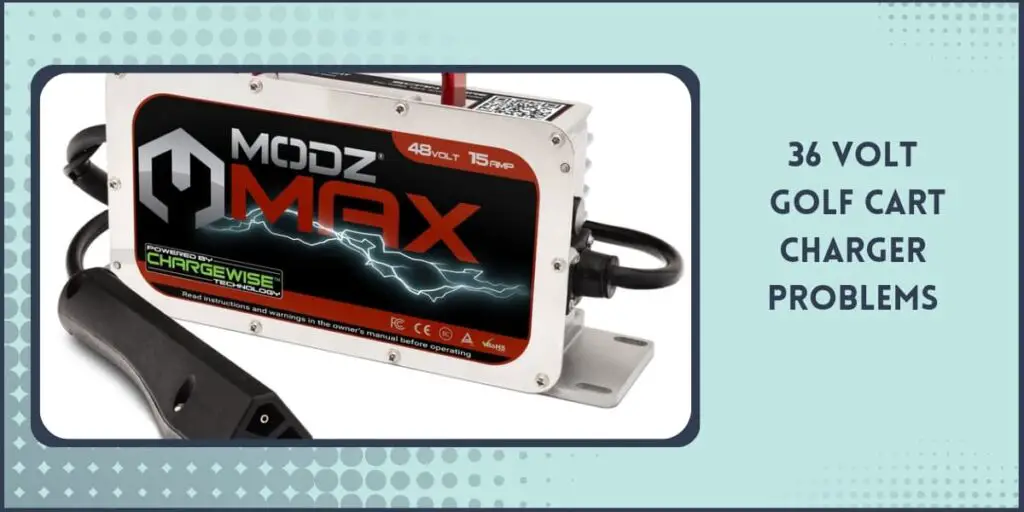
Are you tired of dealing with the frustration of your malfunctioning 36 volt golf cart charger?
Look no further, as this 36 Volt Golf Cart Charger Troubleshooting guide will help you fix common problems.
I understand the pain of a faulty 36v golf cart charger and its problems. Hence I had to write this 36 Volt Golf Cart Charger Troubleshooting guide.
36 Volt Golf Cart Charger Troubleshooting: Top 5 Problems & Fixes

Follow this 36 Volt Golf Cart Charger Troubleshooting guide for all problems:
1. The Charger Won’t Turn On
The charger not coming on can result from a very low charge on the battery, frayed connections, or corrosion.
How to Fix
- Use an industrial charger to charge your battery to improve its charge manually.
- Avoid running down your batteries before charging them.
- Check the battery to ensure there are no frayed connections and that terminals are properly connected. If the charger still doesn’t come on, check for a blown fuse on the charger and ensure it is rightly plugged into the DC and AC source.
Check out this article on What Should My Golf Cart Charger Read when Fully Charged?
2. Charger Runs Too Long Or Doesn’t Run Long Enough
Issues like this are often a result of faults with the charger’s computer. A fault in the charger’s computer results in the charger not knowing when to stop charging.
How to Fix
If you are not handy enough, take the charger to a repair man to have the computer replaced.
3. Charger Makes Clicking Sounds
You might experience your charger making clicking songs when plugged in and doesn’t start charging. This indicates that the charger’s computer dictated that it was time to charge but, for some reason, didn’t.
How to Fix
- Check your battery for frayed connections or disconnections.
- Debris and limit the voltage transfer through the charger; ensure you check your charger for dust and clean it out.
- If the problem persists, you might have to take your charger to a professional to have the computer checked out and changed.
4. Charger Makes Very Loud Noise
If you notice the charger makes a lot of noise while charging, this indicates an issue with its cooling system.
How to Fix
- In such situations, you will need a professional golf cart technician to check out your charger and fix the cooling system.
5. Charger Doesn’t Fully Charge The Battery After Hours
In scenarios where your charger starts charging your battery but doesn’t get a full charge after over 10 hours, you most likely have an issue with the batteries. In some cases, the battery charge starts reducing from like 50v to 45v. This means your batteries might have gotten to the end of their lifespan.
How to Fix
- To fix this problem, read this guide on How to Trick Golf Cart Charger.
Reasons for 36 Volt Golf Cart Charger Not Working

Your 36-volt golf cart charger is not working because of the following reasons
1. Very Low Charge in The Batteries
If your battery has less than 30v charge, your charger will not be able to detect the battery when plugged in and hence will not charge.
How To Fix:
- Use a general manual charger to charge each battery separately to top up the charge level.
- Avoid letting your battery run dead before charging.
- If your charger still doesn’t pick up a charge after using a general manual charger, it means you have depleted your battery too much and need to get new ones. However, before doing this, check your OBC to ensure it doesn’t need resetting and is working properly. If you reset your OBC and the charger doesn’t detect any charge, you can change the batteries.
2. Low Battery Water Level
A low water level will prevent your battery from charging up. This is because the distilled water in your golf cart battery is a medium responsible for electrolyte reaction. In cases where it is low, your charger will find it difficult to charge up your battery.
How To Fix
- Refill your battery above the plates using distilled water.
- If the charger doesn’t work after this, you may have depleted your battery cells and require a replacement.
3. Battery Connection
Your battery may be in good health but not properly connected. Frayed or loose wires or dirt buildup on the terminal connections can cause issues with the battery connection.
How To Fix
- Carefully open your battery compartment and check the wire connection between the battery terminals and the connections to the life and ground wires, ensuring they are tightly fixed.
- Tighten the loose connections and ensure no strands of wiring are loose or sticking out.
4. Faulty Charger Wiring
Your charger may have frayed wiring or a loose connection.
How To Fix
- Check your charger wiring for frayed wires and have them fixed by a professional.
5. Faulty Charger
Your charger may have issues preventing it from working, such as connector pin issues, blown fuse, or faulty diodes and circuit boards.
How To Fix
- Remove the charger from the wall and analyze the connector to ensure the pins are positioned correctly.
- You may have to replace it or pull the pin out using needle-nose pliers.
- Plug the charger back in and check if it works.
- If it doesn’t, contact a professional to inquire about repairs or replacements.
How to Test a 36-Volt Golf Cart Battery Charger?
To test a 36-volt golf cart battery, connect a voltmeter to the charger’s negative and positive clamps and turn on the power supply. This will help you determine how much power the battery charger is producing.
36-Volt Golf Cart Charger Maintenance
Below are steps to take to maintain your 36-volt golf cart charger
- Turn off the charger before attaching or removing the terminals clamps
- Avoid yanking the charger plug out of the power source
- Keep your charger in a well-ventilated area, especially when charging.
- Do not plug in your charger when the power supplies voltage is too high or too low
- Use a dry clean cloth to clean off dust from your charger from time to time.
EZ GO Golf Cart Charger Troubleshooting
These are the most common EZ GO Golf Cart Charger problems and their Troubleshooting steps:
1. Blown Fuse
When there is no voltage, the fuse connecting the battery pack and the receptacle may be blown, causing your ezgo golf cart charger not to work.
How To Fix
- Unplug the charger completely
- Locate the fuse holder on your charger.
- Remove the fuse and check if it is blown.
- Replace if it is. Make sure you replace the fuse with the exact one you took out.
2. Residue Buildup On Terminal Connections
When residues build up on your terminal connections, it will prevent the proper flow of current through the charger and battery, resulting in slow charging or the charger not working.
How To Fix
- Check the connections; if you notice any residue around the terminals, clean them off using a solution of warm water, baking powder, or any good battery cleaner.
- Pour the solution over the terminal. You will notice some bubbles, especially if the terminal is very dirty. Use an old toothbrush to scrub off the dirt.
3. Charger Comes a Little Too Late
When you experience this, your charger receptacle may have worn out connectors or Radsok.
How To Fix
- Plug in a good charger and hold the cord end that is plugged in a little high so that good contact is established.
- If the charger comes on after a minute, the connectors need a replacement for charging to take place effectively.
4. Charger Indicates a Red Light that Blinks Twice
This indicates that the charger is faulty.
How To Fix
- Replace the charger with a DPI charger.
How Do You Know if A Golf Cart Charger Is Bad?
If your charger kicks on but doesn’t start charging or charging fully, then you know your charger is wrong. Another indicator of a faulty charger is when it kicks off soon after coming on.
Other indicators of a wrong golf cart charger include:
- The charger indicates a red light that blinks twice.
- The charger is turning on but turning off just as soon.
- The charger is not shutting off even after switching it off.
- The charger clicks when turning it on but doesn’t charge.
Why Is My Golf Cart Charger Not Working?
Your golf cart charger might not be working for the following reasons:
- Damaged power cable
- Dead battery
- Corrosion or dirt build-up on battery terminals
- Batteries being in sleep mode
- Blown charger fuse
- Frayed wires
- Battery cables not correctly wired
- The golf cart charger is not correctly plugged in
How Do You Reset a Golf Cart Charger?
If there’s ever a need to rest your golf cart charger, the one way to do that is by resetting the OBC. This is located in between the charger receptacle and the golf cart battery. Follow the steps to reset your OBC:
- Turn your key switch off.
- Set forward and reverse to neutral.
- Set the tow/run switch to tow.
- Disconnect the negative battery terminal from the battery pack
- Set the tow/run switch to run
- Set forward/reverse switch to reverse
- Turn the key switch to on
- Lock the throttle pedal down with a second set of hands or an object
- The reverse buzzer will give off a sound and go off in approximately 30 seconds
- Leave the cart like that for about 5 min for the OBC to reset
- Reconnecting the OBC into the system by:
- Turning the key switch off
- Set forward and reverse switch to neutral
- Set tow/run switch to tow
- Reconnect the negative battery terminal from the battery pack
If you use a Yamaha cart, this might help with Yamaha Electric Golf Cart Troubleshooting.
Conclusion
36v golf cart charging issues are very common, and while it might not be a severe problem, not knowing how to handle such problems when they arise can make it very frustrating. In this 36 Volt Golf Cart Charger Troubleshooting article, I have clearly stated some of these problems and how to fix them.


